
# How to use Draft System
# Overview and Use Case
When an influencer wants to submit content to Social Media, the Brand usually wants to check and revise what content they will publish.
Our current flow is that our admin will bridge the communication between brands and influencers. In this case, related to revision and approval.
With this feature, influencers can see what changes they need to revise before posting and check if their content passed the brand’s standard, all through the app.
# How to enable Draft System
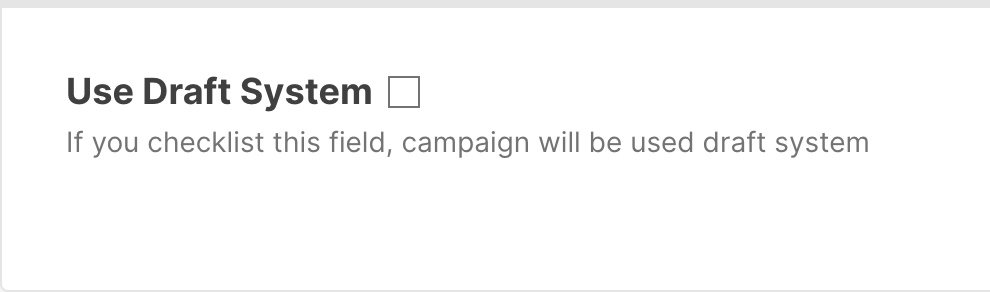
To enable the draft system, currently brand should manually update the campaign using the "Use draft system" checkbox in the creating and editing campaign page.
# Viewing all content from Influencers
After enabling the checkbox. You can check all the draft content submitted by influencers by going to Content Draft navigation in the campaign overview.
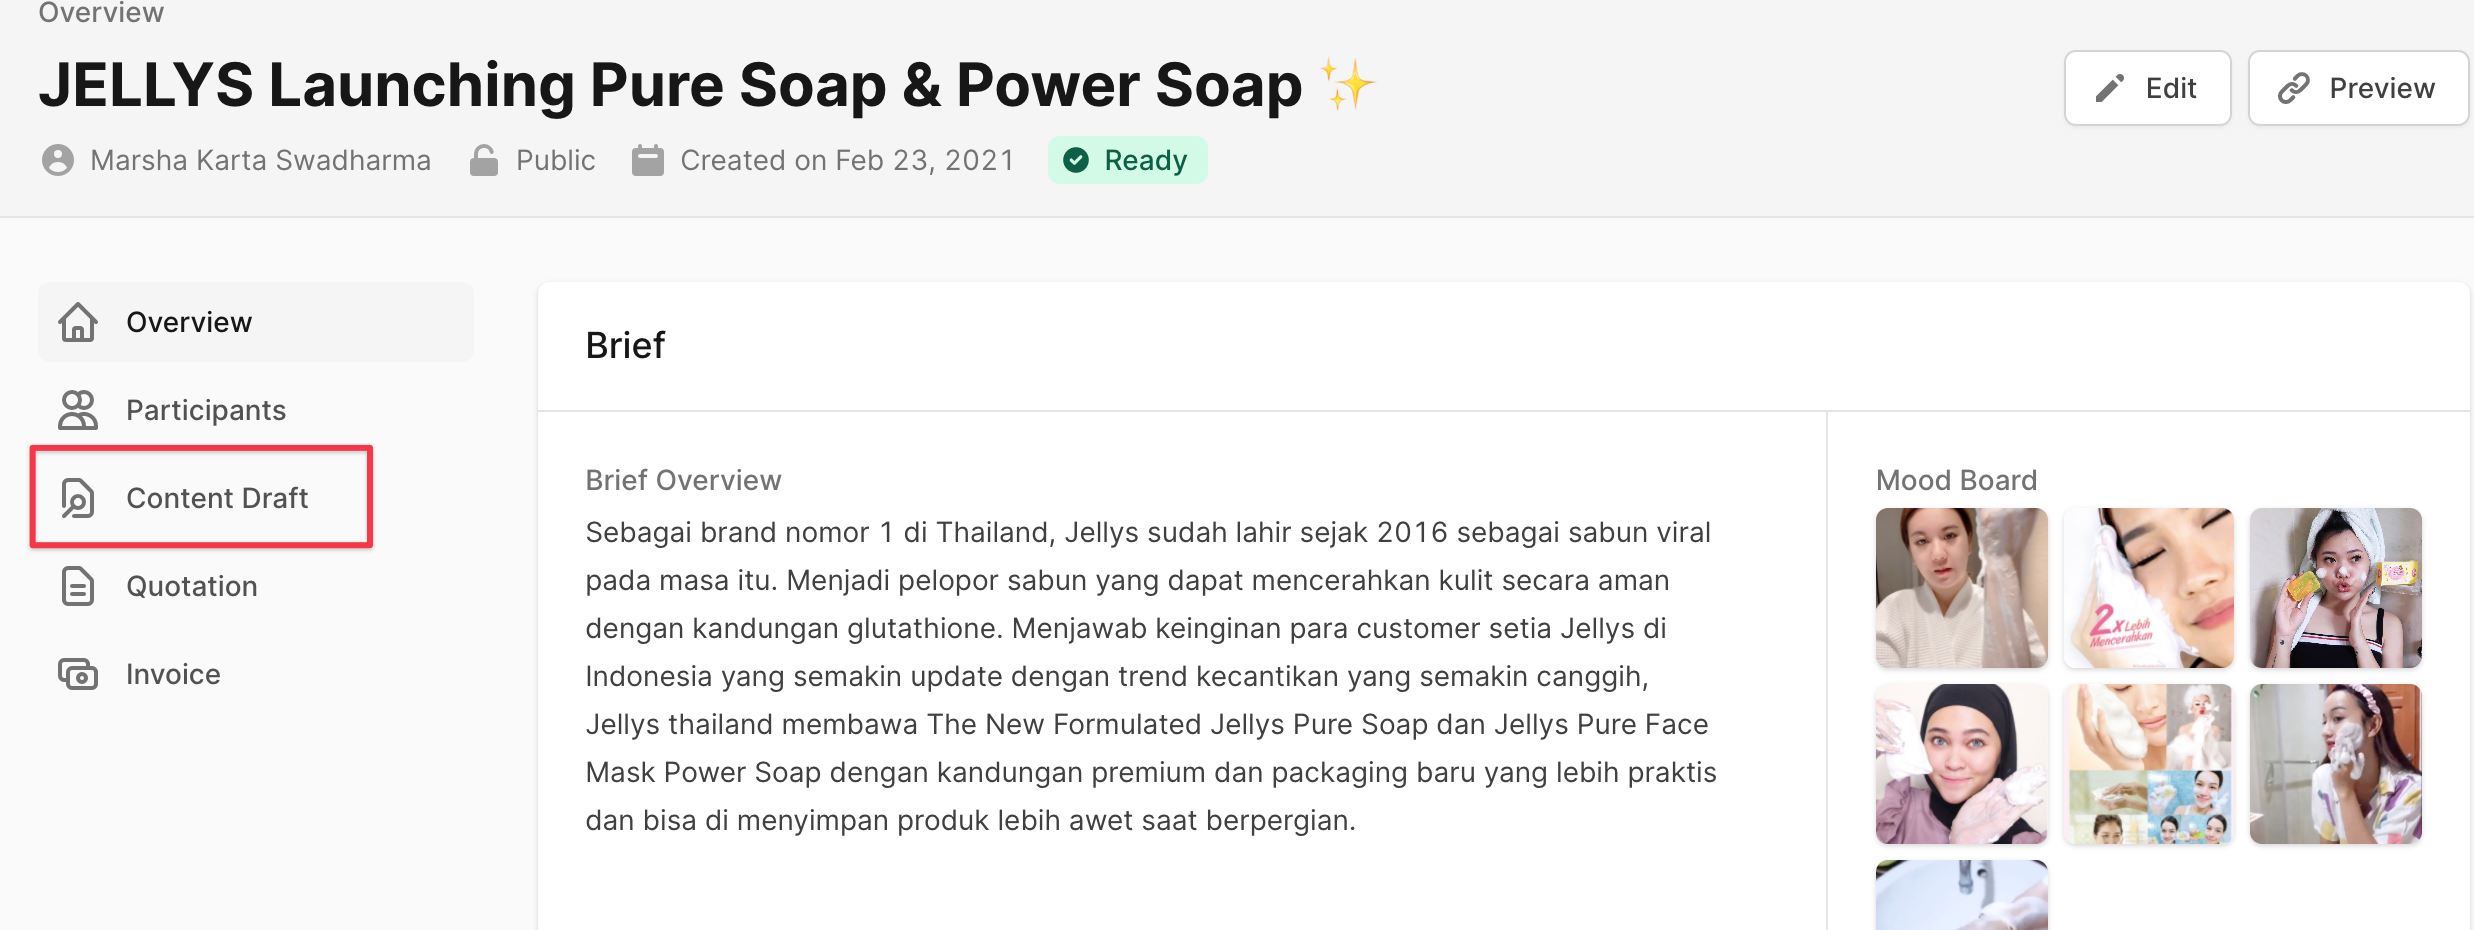 Navigate to content draft
At the top of the page, you can see a summary of the drafts submitted for that task. You can see how many drafts have been submitted, how many are still in the progress of approval/revision, and how many are already approved.
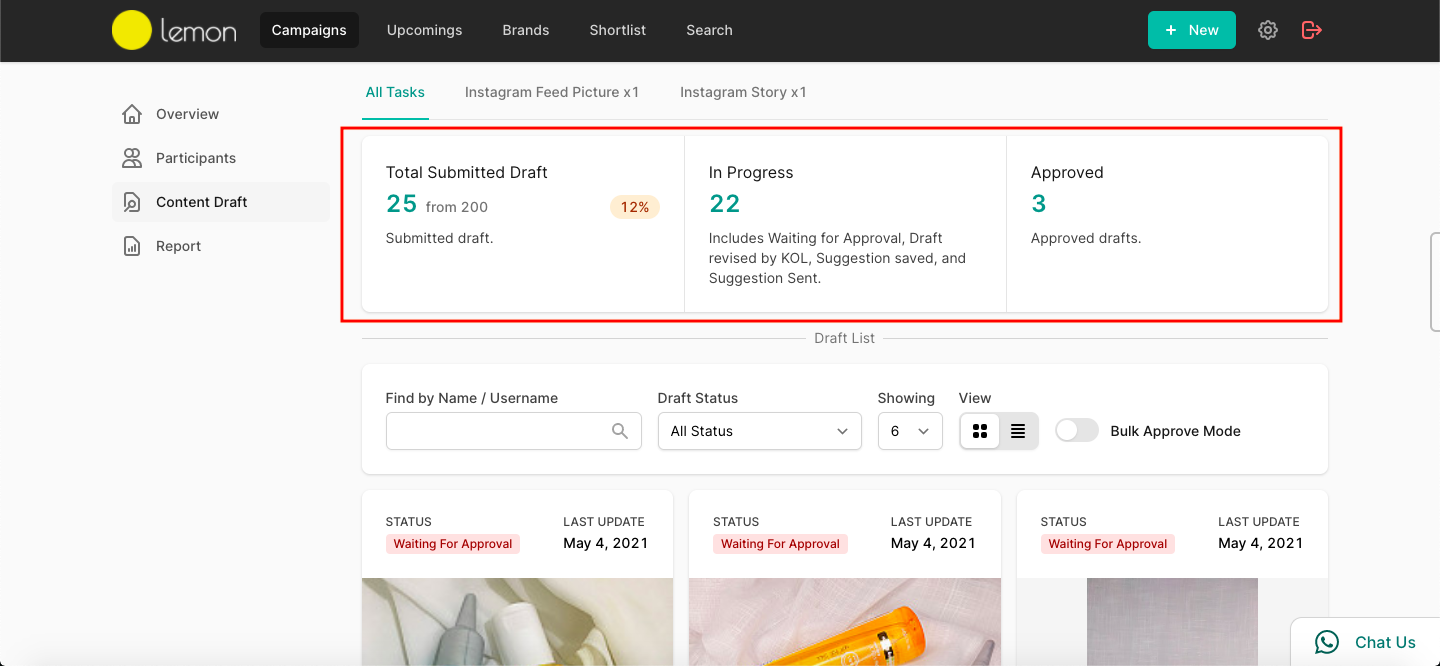 Summary in the main draft content page
# Viewing draft details and Revision History
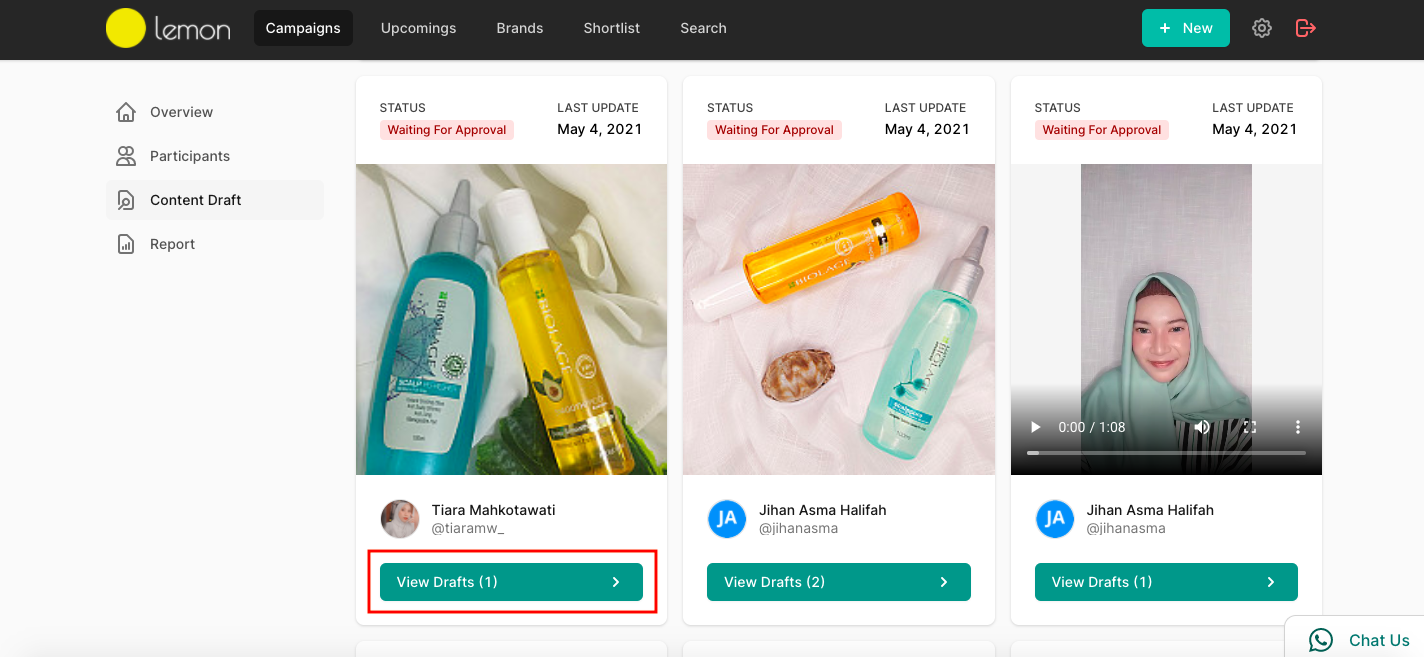
To view the details of a content draft, simply click the "View Draft" button on a draft. In the page opened, you'll be able to see the influencer's name and username, draft status, date when the draft is last modified, a bigger view of the content (photo/video), and the caption (if any).
On the bottom of the page, you can also see a history of all the revisions you've sent and when a draft's been approved.
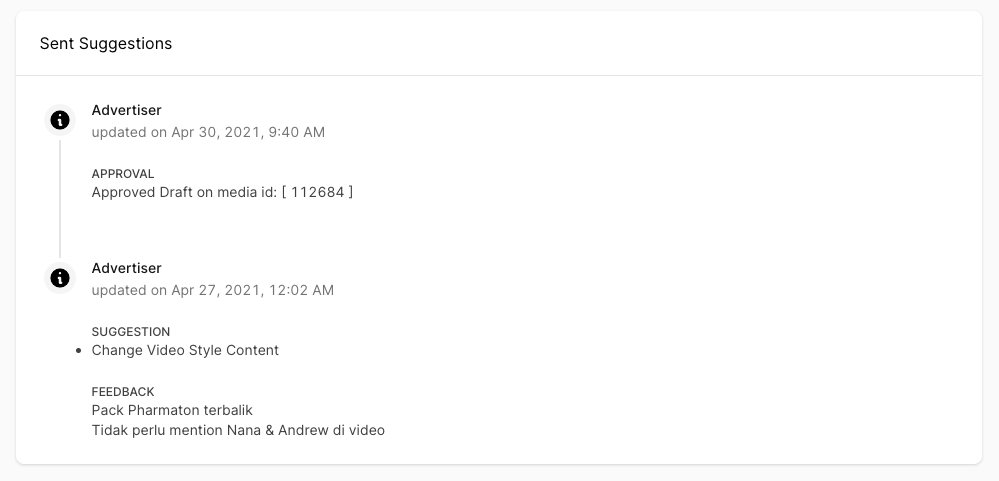 Example of a history of activities done for the draft
# Filtering Content
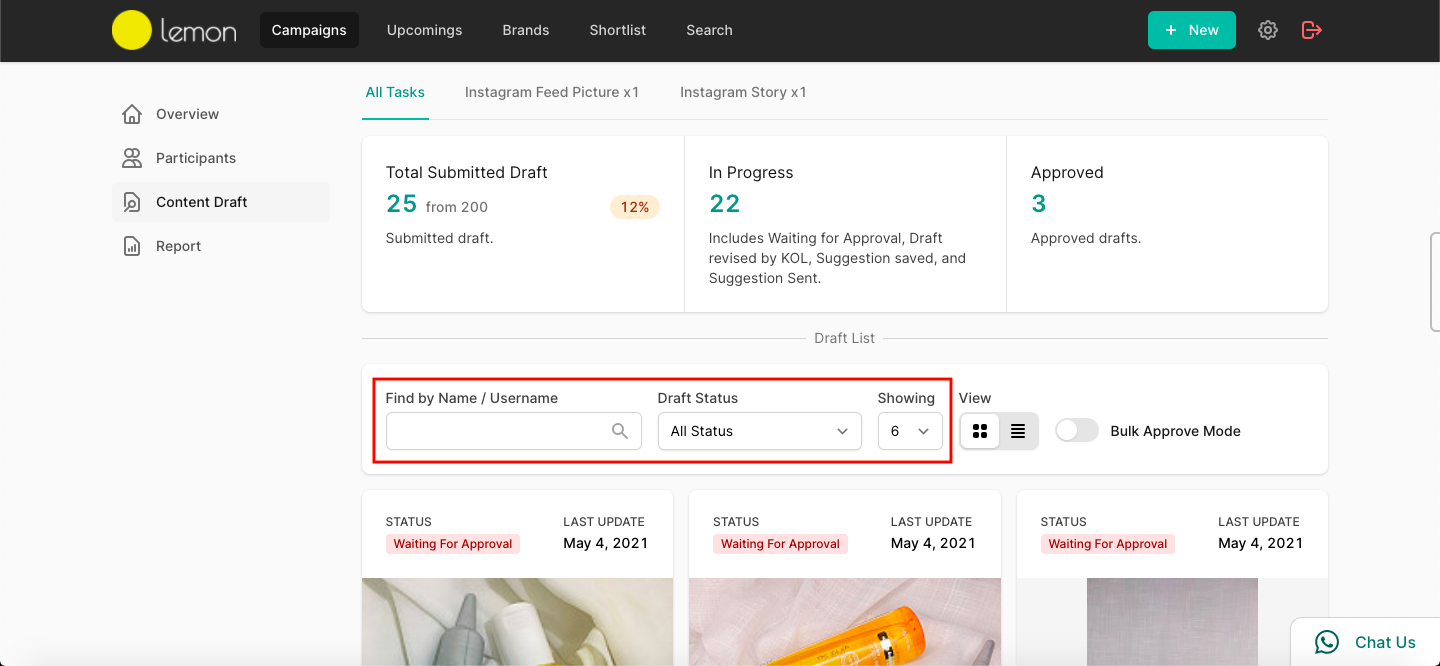
You can filter the draft using status, and search specific influencer’s names.
| Filter | Description |
|---|---|
| Name/Username | Find draft based on KOL name / IG username |
| Status | Filter based on content status |
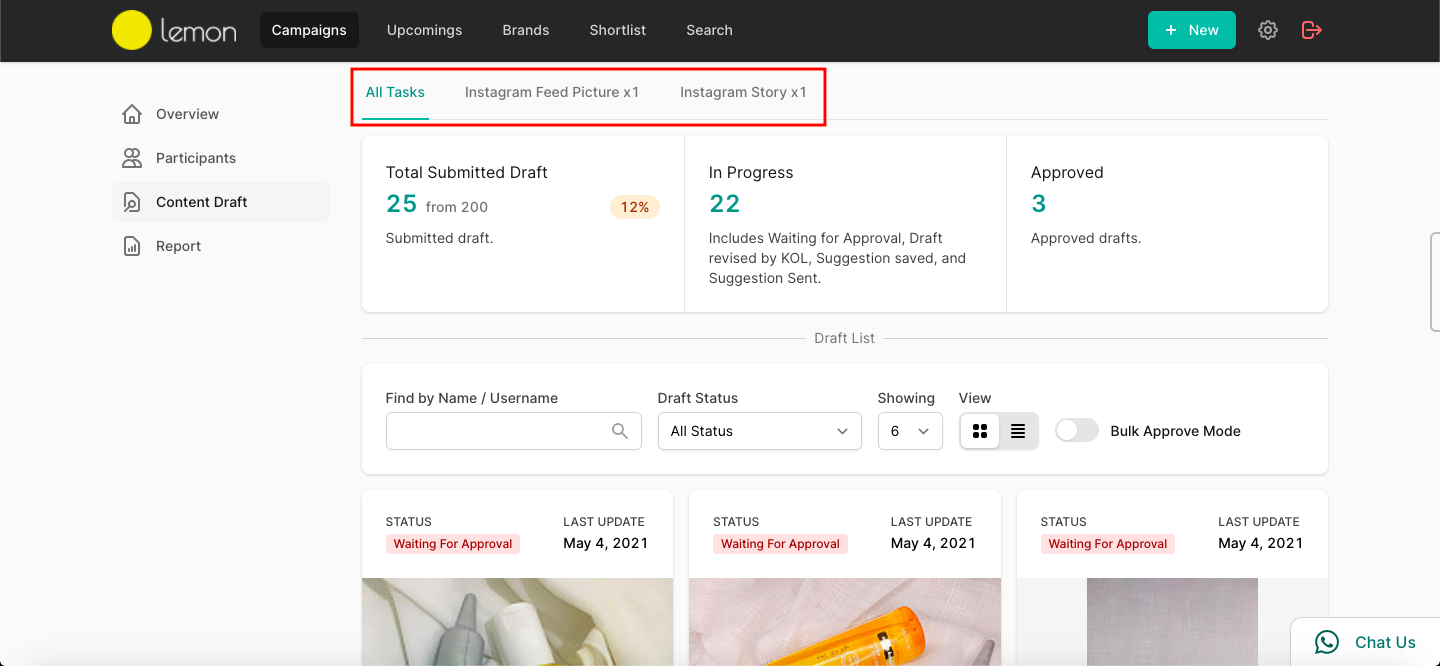
You can also filter content based on task types.
# Content Status
| Status | Description |
|---|---|
| Waiting for approval | Influencer submitted a draft for the 1st time |
| Approved | Draft already approved by brand |
| Draft revised by KOL | Draft is already revised by an influencer, waiting for approval / another revision |
| Suggestion saved | Revision/Suggestion is being edited and saved by brand |
| Suggestion sent | Brand has sent the revision/suggestion to the influencer. Waiting for the influencer to revise and re-upload draft |
# Suggesting Changes (Giving Revision)
Requirements
To suggest changes, a draft should be in "Waiting for approval" or "Draft revised by KOL".
To suggest changes, go to Content Draft tab, then click on the ”View draft” button to view details of a draft.
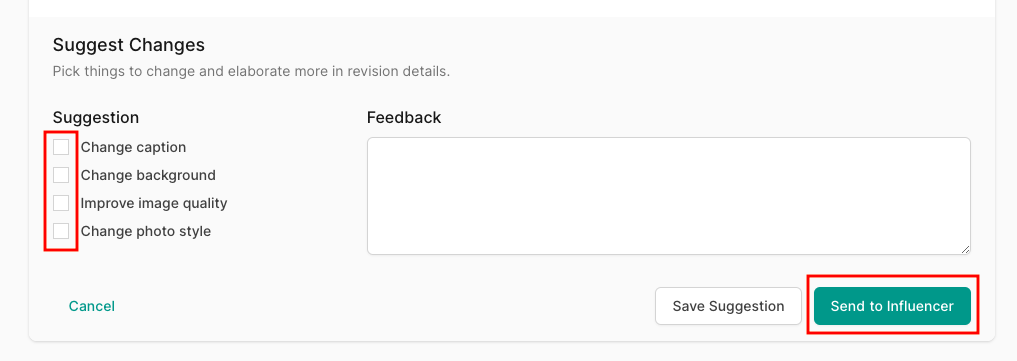
Check the details of the content draft. When you’re ready to give suggestions, click on the ”Suggest Changes” button.
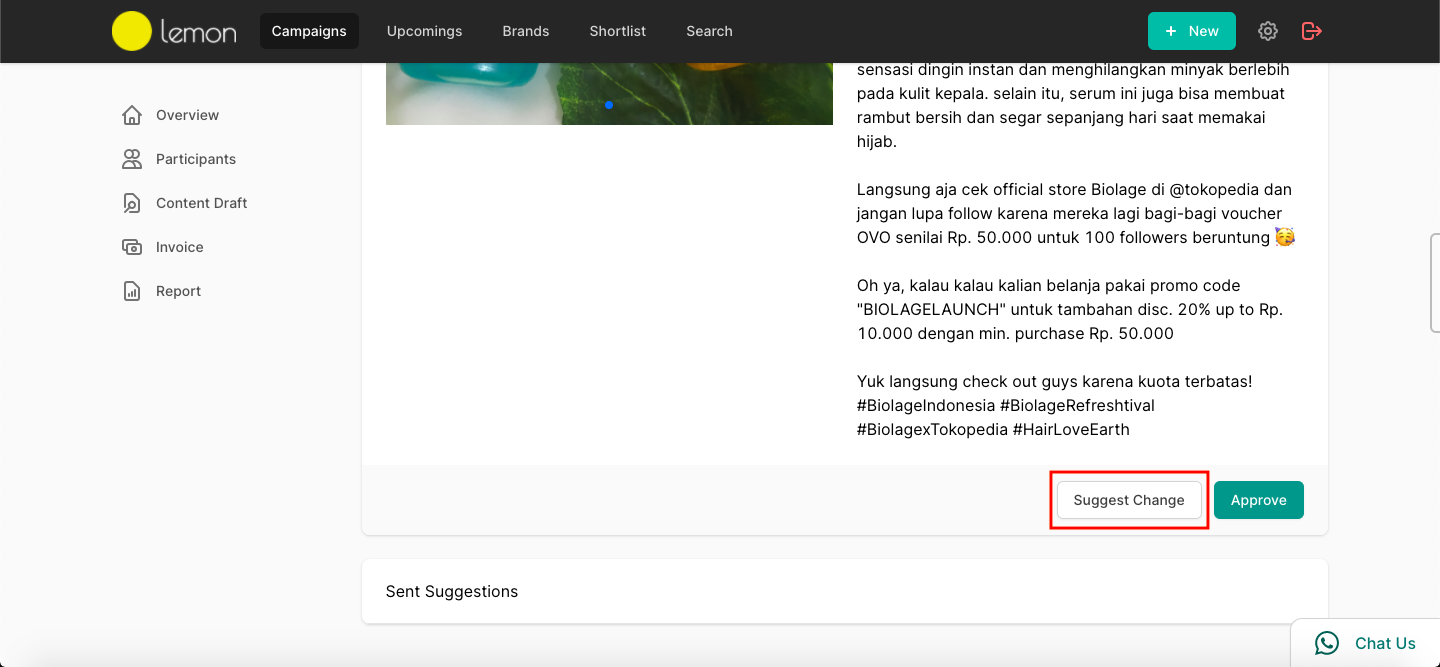
Tick the things that the influencer needs to improve from their content, and elaborate your revision in the ”Feedback” field. When you’re done, click on ”Send to Influencer”. This will notify KOL about the suggestion and instruct them to re-upload the new revision.
# Saving Suggestion
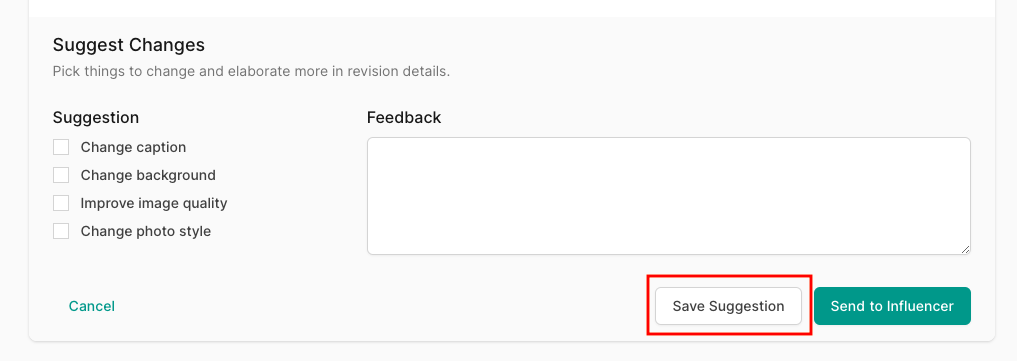
You can save your suggestion for a draft and continue later before sending it to the influencer right away. To do so, after writing your suggestions, click on the ”Save Suggestion” button.
To continue editing your suggestion again, simply go to the draft that you want and click ”Suggest Changes” again. Your last suggestion will still be displayed in the input field. Simply edit them again, and send them to the influencer when you’re ready.
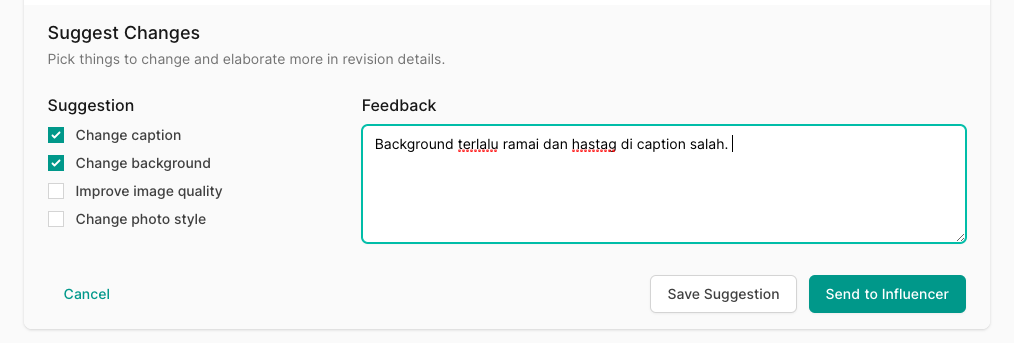 Editing a saved suggestion for a draft
# Approving Content
Approving content will mark the draft as final and ready to be published on social media. There are two ways of approving content: single approval and bulk approval.
# Single Approval
To approve a draft, go to Content Draft tab, then click on the ”View draft” button to view details of a draft.
Check the details of the content draft. When you’re ready to approve the draft, click on the ”Approve” button.

Depending on the content type, You can select which photos to be approved. If there is more than one photo that an influencer submitted, you can choose to approve only the ones you like. To do so, tick which photos to approve, and click ”Approve Contents”.
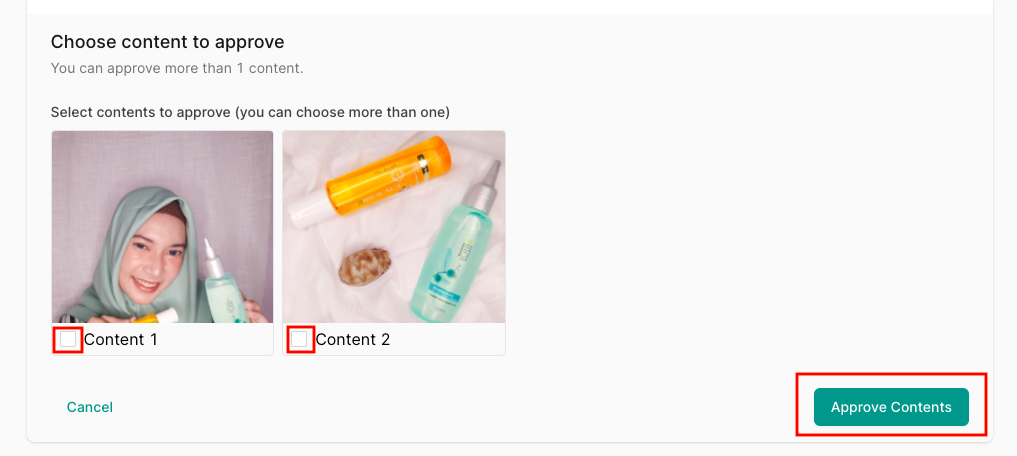
For example: If there are 6 photos, you can choose 2 that you like, then the rest (4 photos) will be rejected.
Once you approve a draft, we will notify the influencer that the draft has been approved.
# Bulk Approval
You can use bulk approve mode when you want to approve more than one draft all at once.
Important
When using bulk approval, if you approve a draft that has more than one photo, then all the photos will be approved (you can’t choose only some like in single approval).
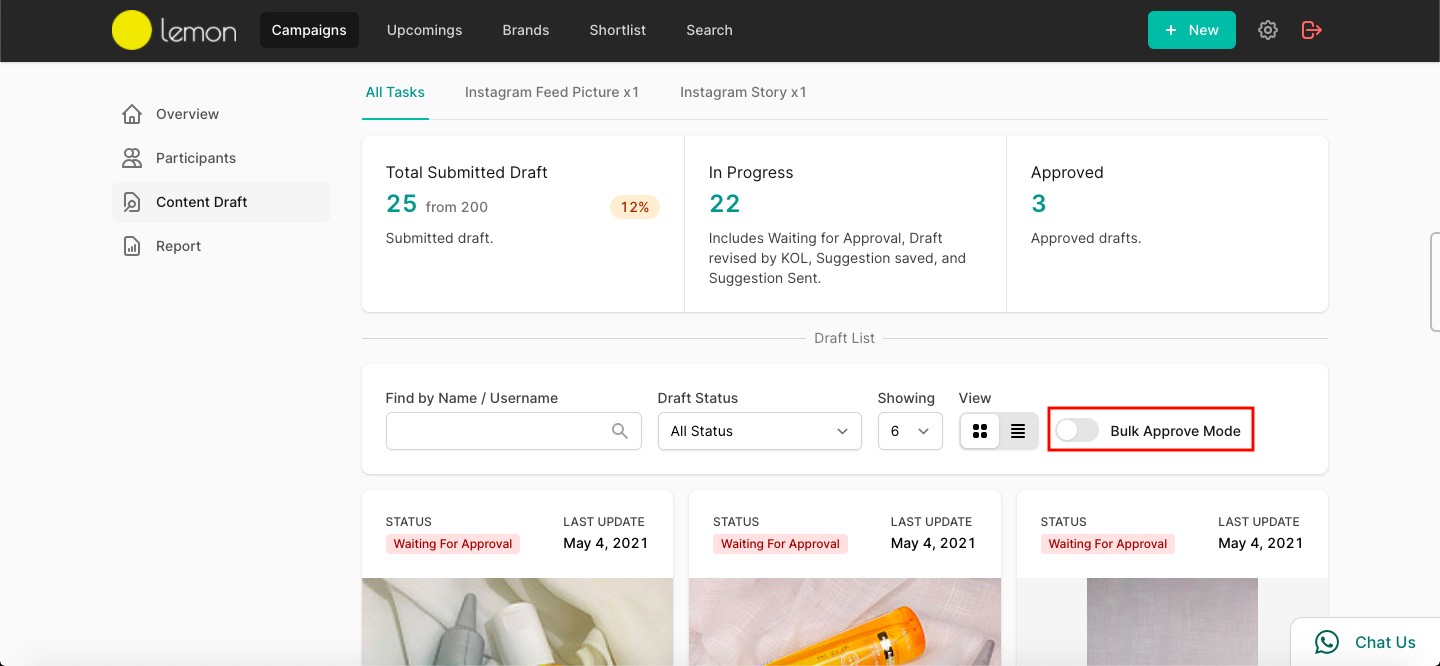
To use bulk mode, turn on the bulk approve mode toggle.
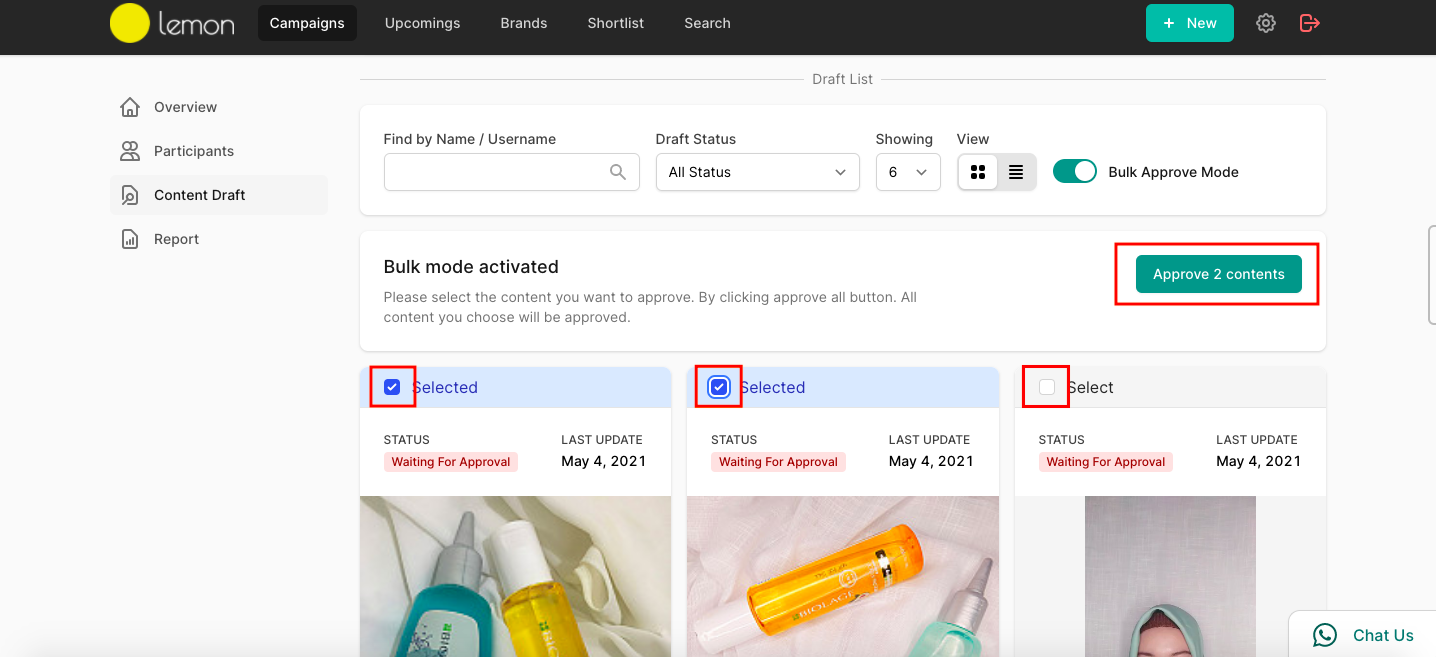
Then, tick the drafts you want to approve and click ”Approve contents” button.
# Viewing Approved Contents
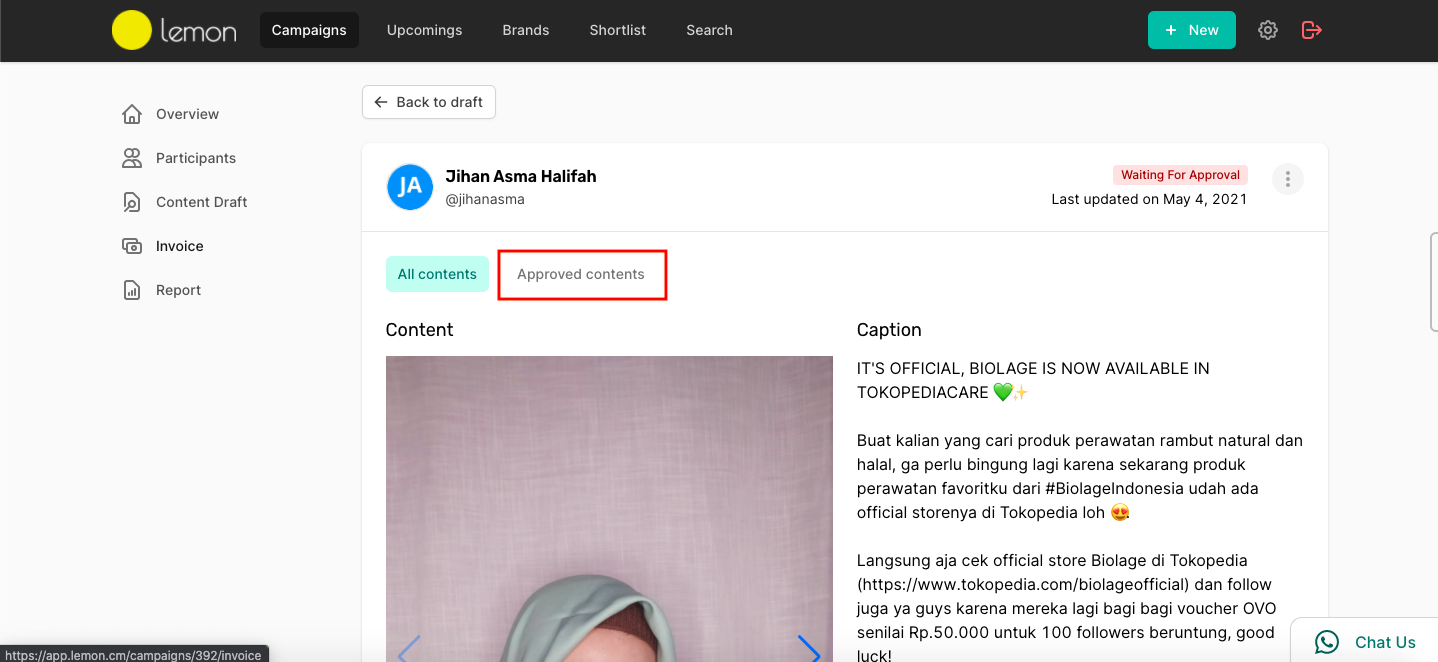
To see the contents that you have approved from a draft, simply go to ”Content Drafts” tab, click on ”View Draft” on a draft you want to open, and click the ”Approved” tab in the draft details page. This will show only the contents that you have approved.
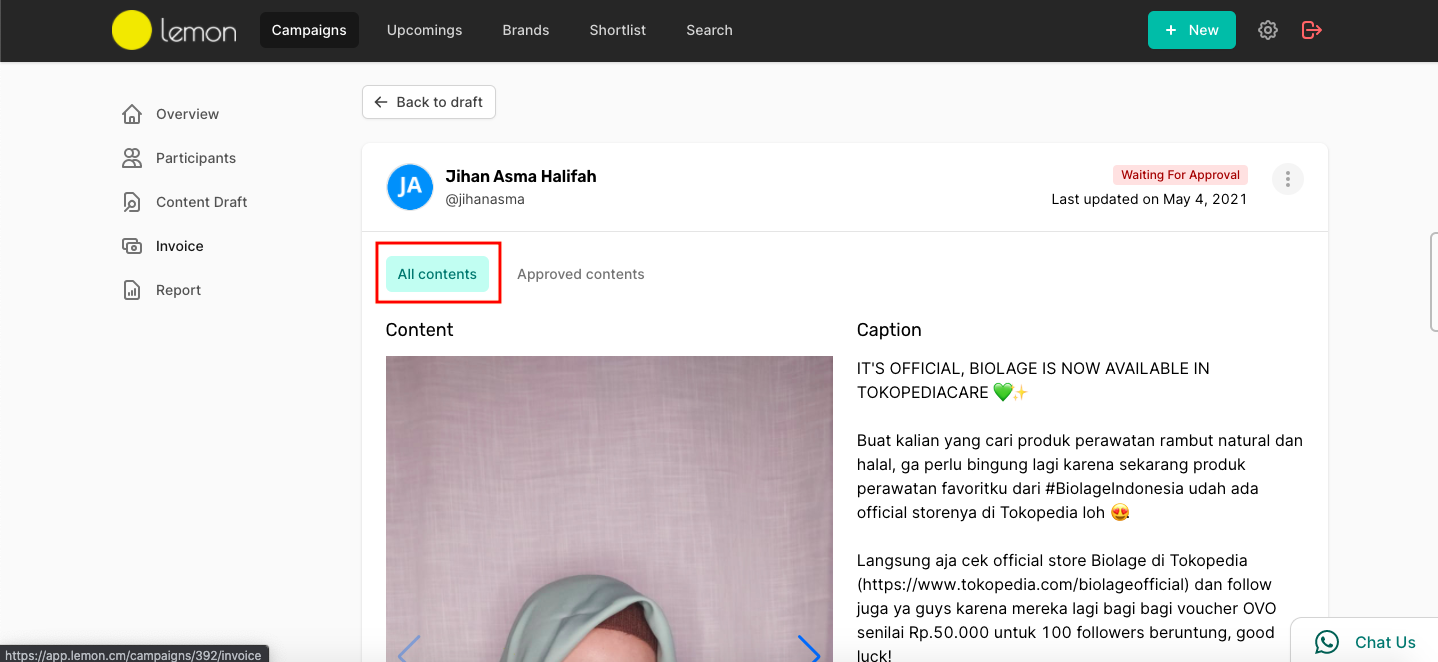
To see all the contents (including the ones that you declined) again, simply click on the ”All contents” tab.
# Changing Between Grid and List View
When checking all drafts from each task type, you can choose to switch between grid view and list view. Using grid view is better when you need to see a preview of the content while using list view is better when you need to quickly scan the names of the influencers.
To switch between the two views, simply click on the Grid or List icon in the View option.
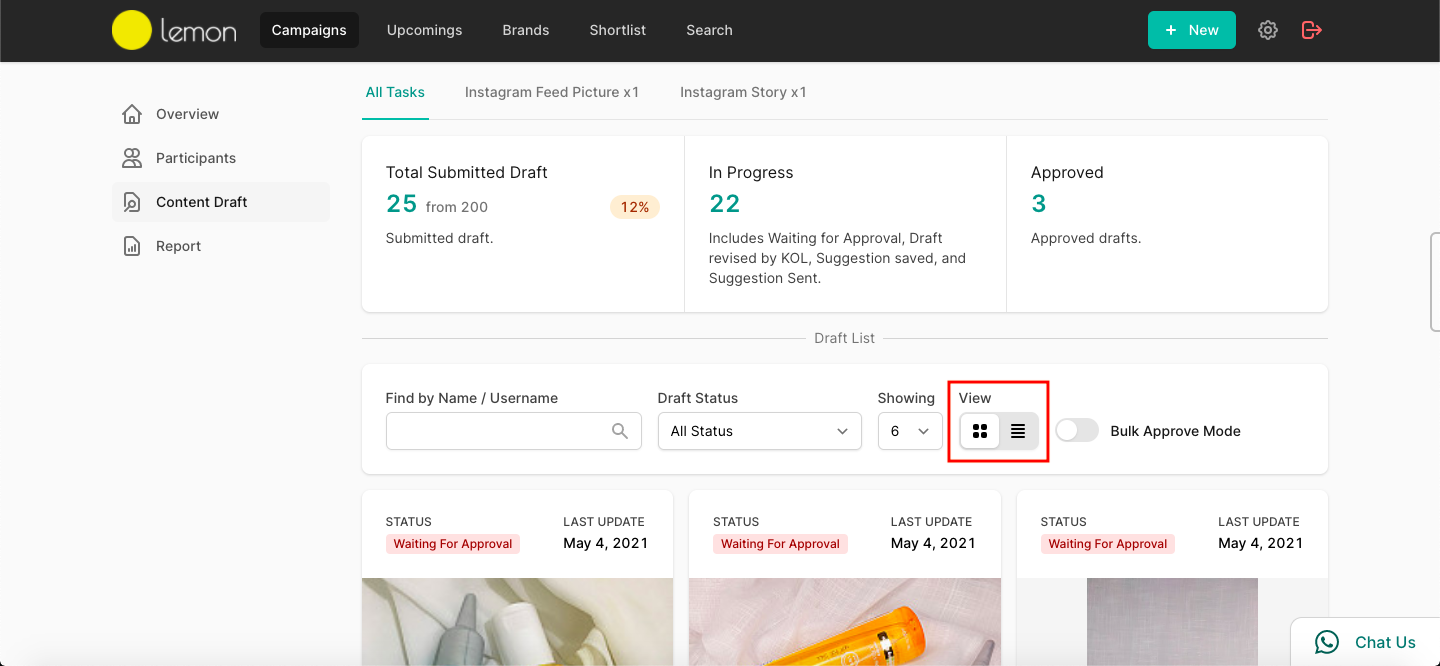 Switching between grid and list view.
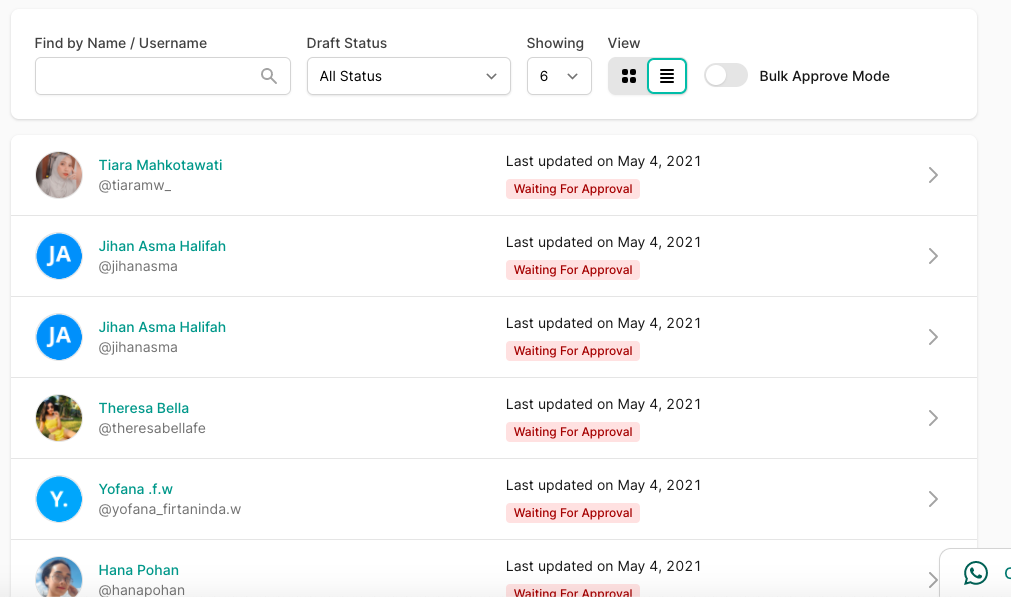 Viewing content drafts in list view.
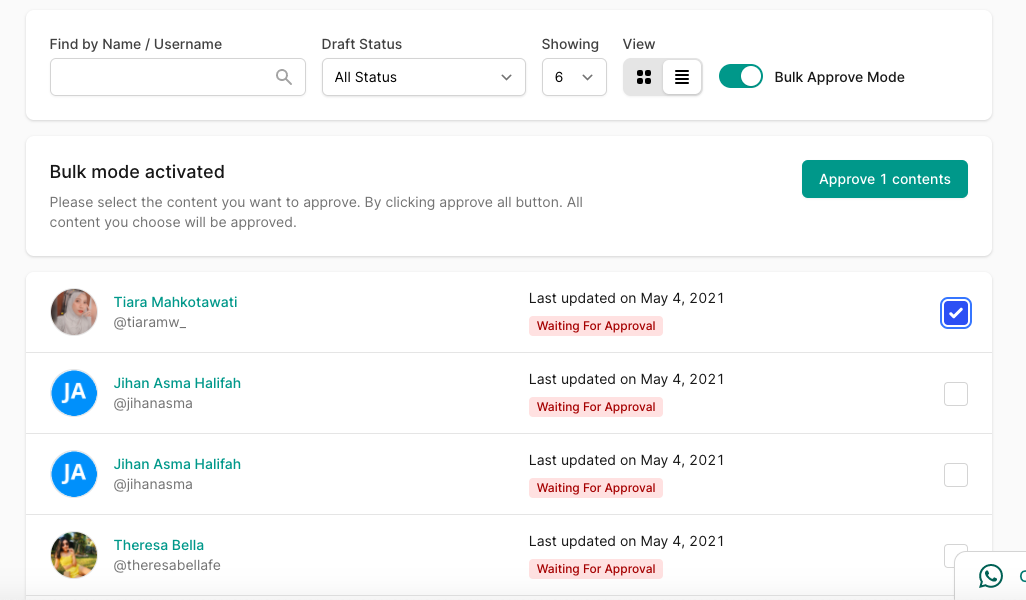 Bulk approving draft in list view.