# Creating a Campaign
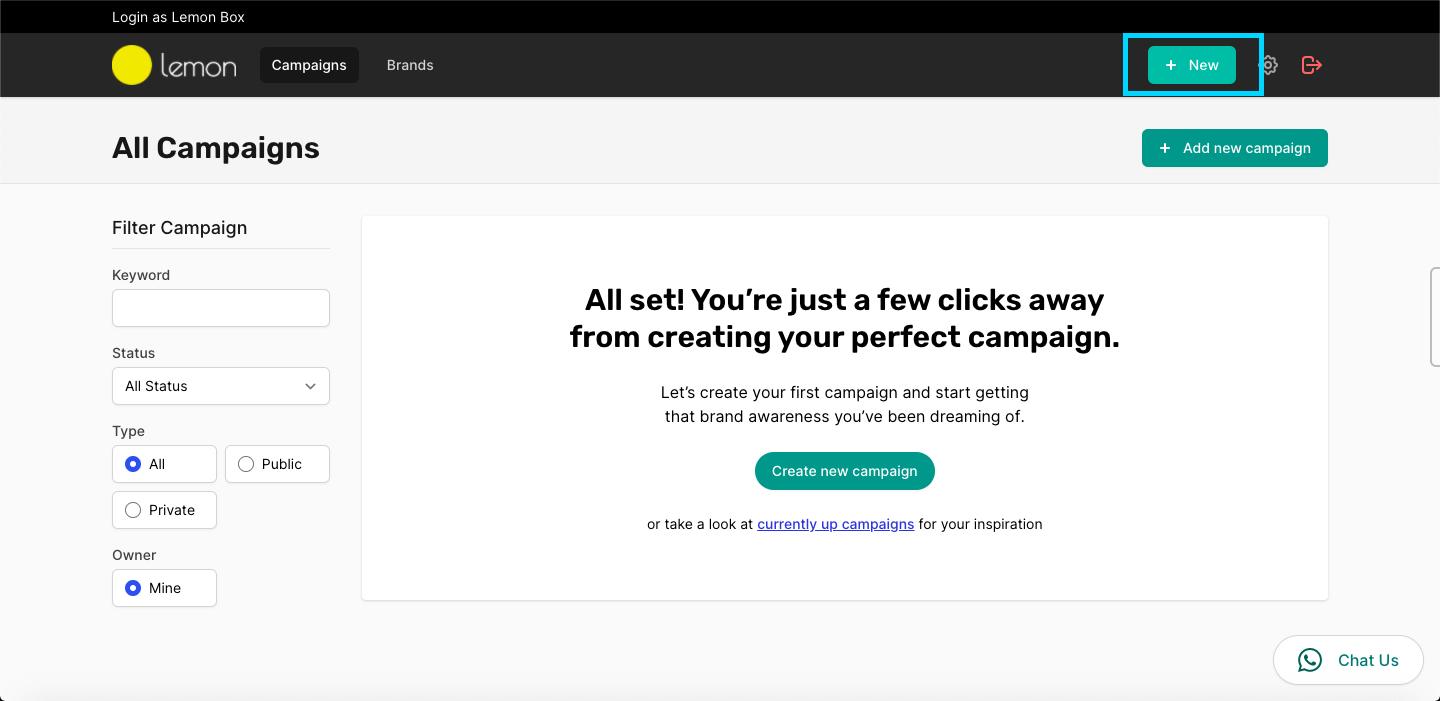
To create a campaign, log in to your account and go to Campaigns > Create New Campaign.

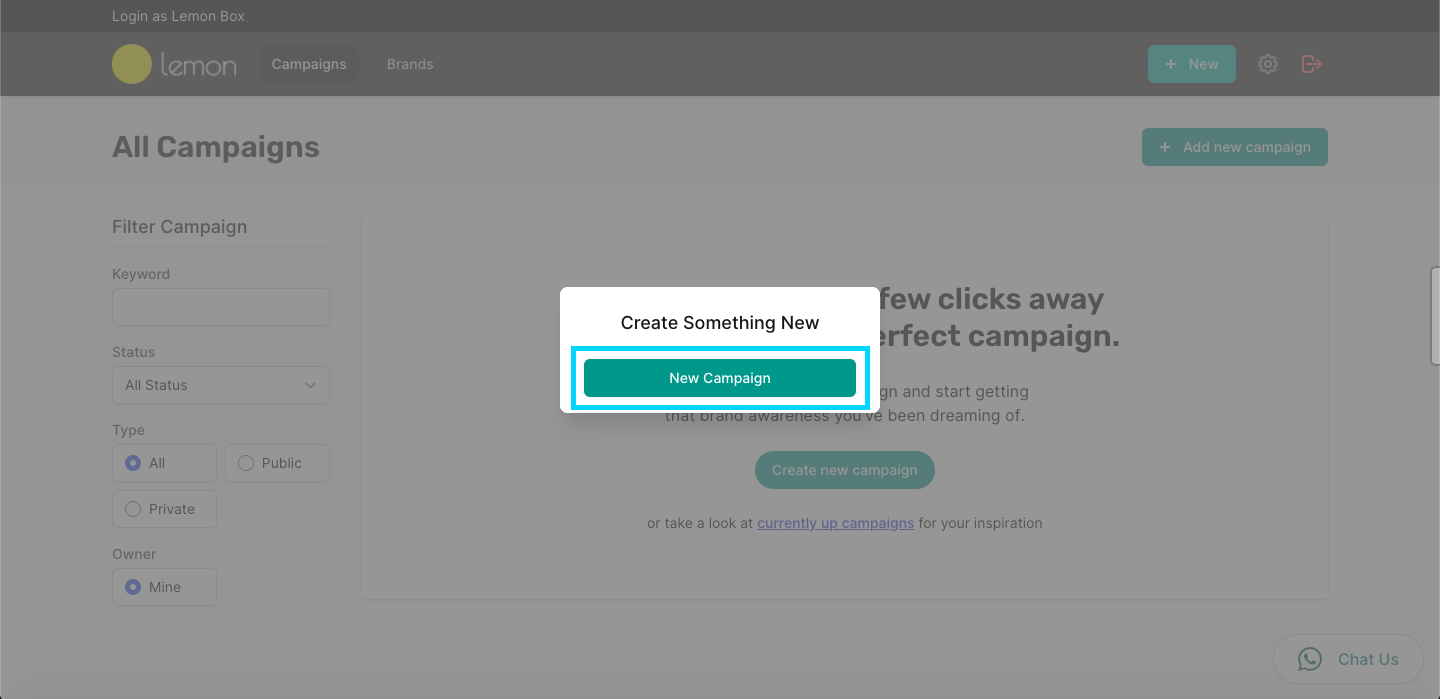
Alternatively, you can also create a campaign from anywhere by clicking on the + button on the top navigation bar and selecting Campaign.
# Filling Overview
Campaign overviews are the general information needed in order for your campaign to start.
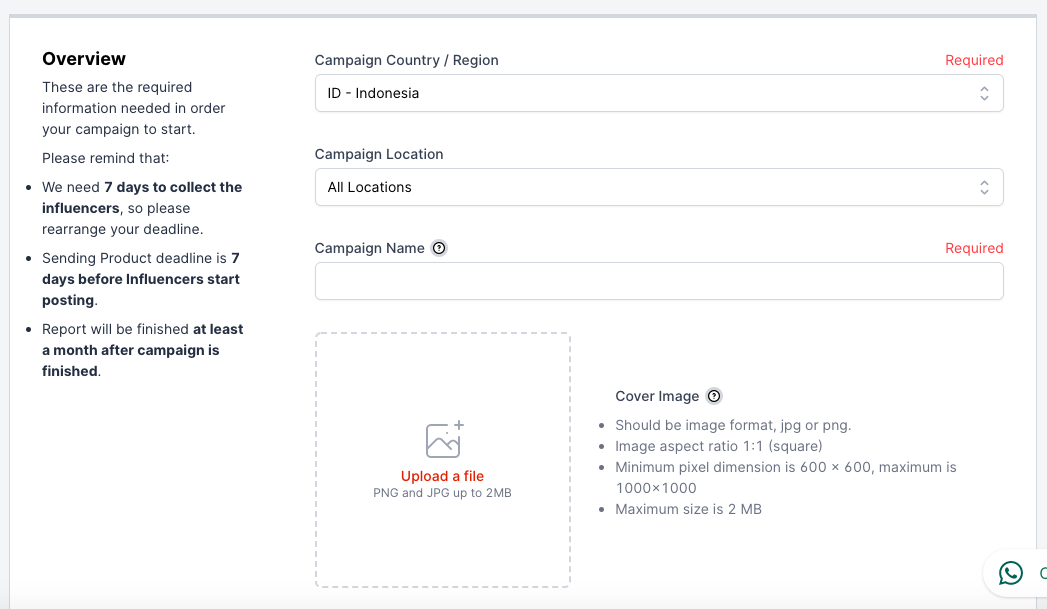
Campaign Contry/Region. The region in which your campaign is going to run. Right now, only Indonesia is available, but stay tuned for more countries in the future!
Campaign Location. The specific city or area of the influencers you want. “All Locations” means your campaign is open to any influencers nationwide.
Campaign Name. The name of your campaign. It can be your product name, your hashtag name, or anything that best describes your campaign. E.g: “#SelaluCantik with Lemon Liptint”
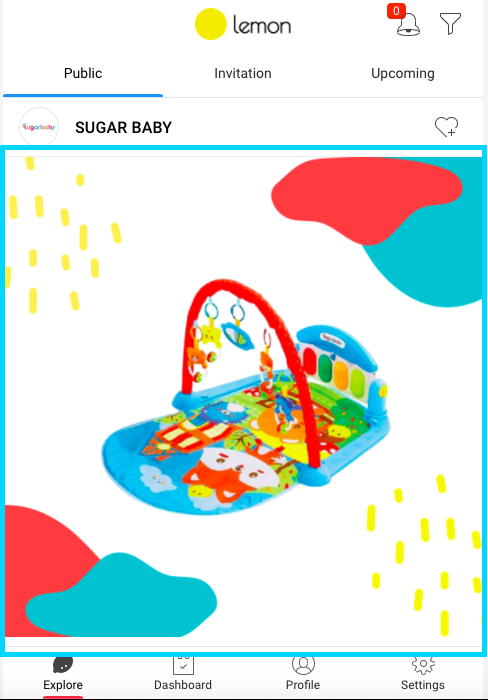
Cover Image. This is the picture that will be used as the cover of your campaign in influencer’s app. Your picture should be:
- In JPG or PNG format
- Have 1:1 ratio (square image)
- Minimum 600x600 px and maximum 1000x1000 px in dimension
- Maximum 2MB in size. If it’s more than that, try converting your image with online tools such as Squooshopen in new window or Tinypngopen in new window.
As a reference, this is how your cover image would look like on the influencer’s app:
# Campaign Reward
This is where you determine the rewards that influencers will receive by participating in your campaign. If you sign up for Lemon Box, the reward type will be Lemon Box (products).
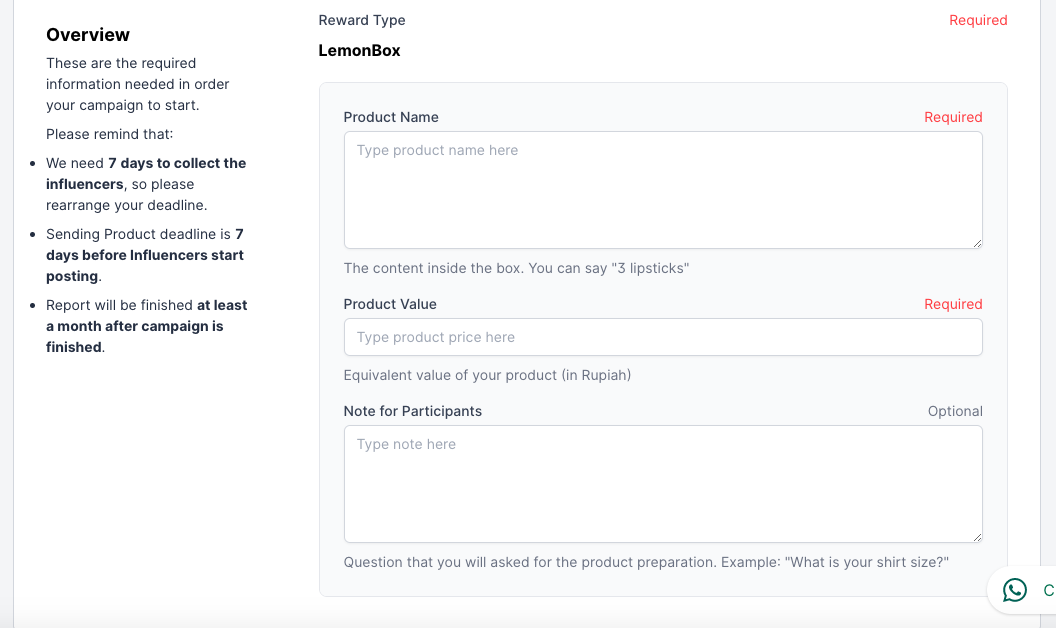
- Product Name. The name and quantity of products you will include in your package given to the influencers. E.g: “1 Lemon liptint red, 1 Lemon liptint pink”.
- Product Value. The value of one package in rupiah. E.g: if a Lemon liptint is equivalent to Rp.150.000, you’ll write “300000” in the product value for one package (because one package contains 2 Lemon liptints).
- Note for Participants. Here, you can ask for additional information from influencers that is needed for product preparation. For example, you can ask for their skin tone, clothes size, etc. This part is optional.
# Filling Brief
Your campaign brief is a general guidance on what your campaign is about, that the influencers will read. The things you write here will be shown exactly word by word on the influencer’s app, and will help them decide to join the campaign or not.

- General Brief. In the general brief, describe and introduce your brand, the products, and the background of this campaign you make.
- Participant Criteria. In this section, describe the criteria that you’re looking for in the influencers for this campaign. Such as gender, age, location, and hobbies. For Lemon Box accounts, you can’t set a minimum number of followers for the influencers. All influencers that has 1000 - 10,000 followers can be invited.
- Moodboard Images. These are reference images that the influencers can use as a guidance on how the post should look like. You can upload more than one image.
- Reference Link. Links that can be used for reference to learn more about your brand and this campaign, such as your brand websites or social media.
- Do’s. List down the things that influencers should do while participating in this campaign, such as “be honest”, etc.
- Dont’s. List down the things that influencers shouldn’t do while participating in this campaign, such as “don’t mention other brands”, etc.
# Specifying Scope of Work
This section is where you specify the specific tasks that influencers who participate in your campaign would need to do. Write down the details of what kind of post they should make, so it will help your influencers.
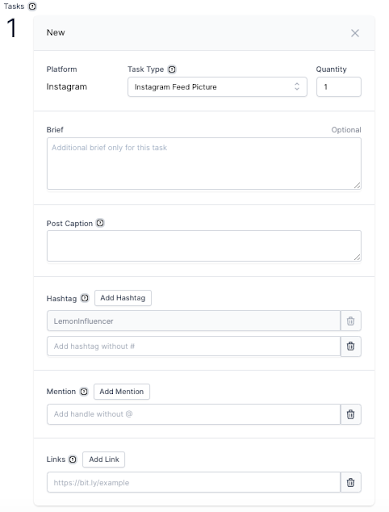
- Platform. The social media platform for this task. If you’re using a Lemon Box account, the platform available is only Instagram.
- Task Type. The type of task the influencers should make, such as Instagram feed picture, Instagram story.
- Quantity. The quantity for that task.
- Brief. The additional guidance specific for this task.
- Post Caption. The caption for this task (for Instagram feed posts only).
TIP
Instead of writing a template that your influencers should just copy, write guidelines on how they should write the caption using their own words (e.g what they should include, what they should talk about, etc.)
- Hashtag. Hashtags that you want to be included in the task. You can add more than one.
- Mention. Accounts that you want to be mentioned in the task. You can add more than one.
- Links. Any additional links that you want to be mentioned/included in the task. You can add more than one.
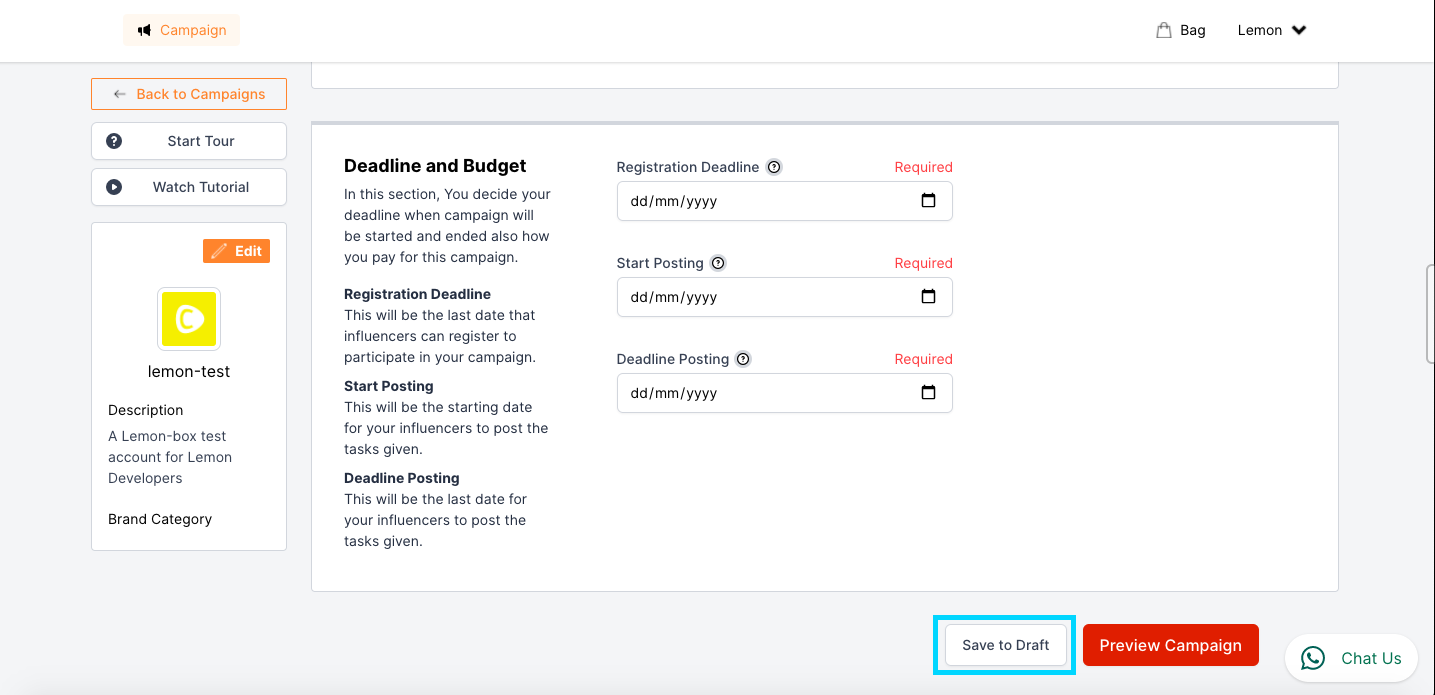
# Specifying Timeline
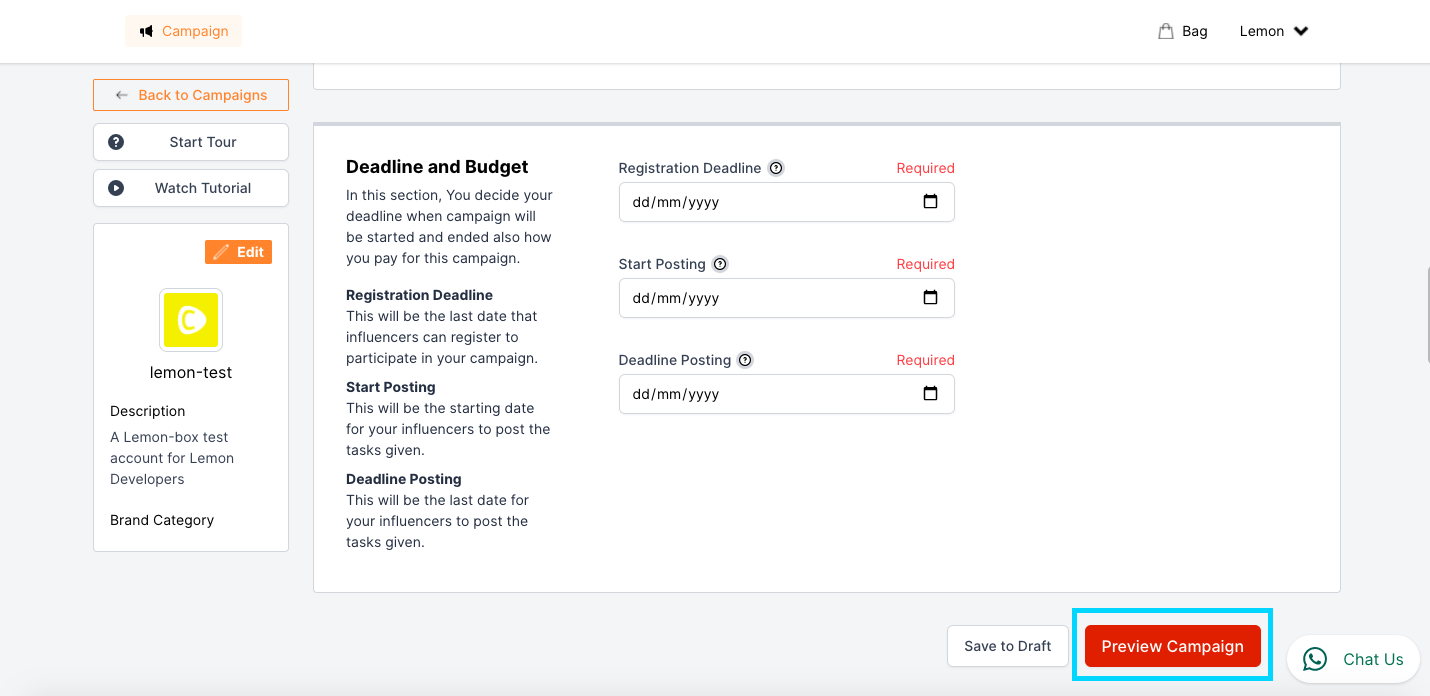
Lastly, you need to specify the timeline for your campaign. Keep in mind that we need 7 days to collect influencers, so please arrange your timeline accordingly.

- Registration Deadline. The deadline for influencers to register to your campaign. After the registration is closed, you can start selecting influencers from those who registered.
- Start Posting. The date in which you want the influencers to start posting the given tasks.
WARNING
Keep in mind that you should send your products to the influencers 7 days before the start posting date.
- Deadline Posting. The last date in which influencers should post the given tasks by then.
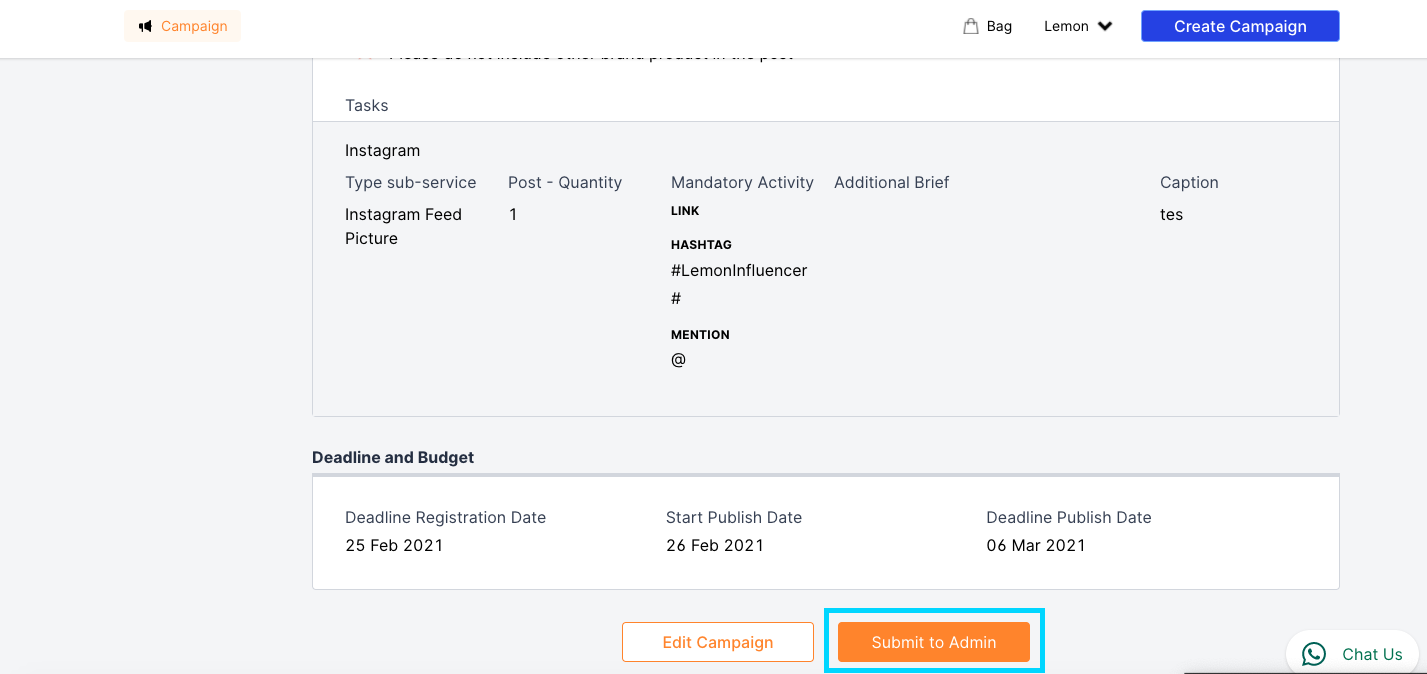
# Submitting Your Campaign
Once you have filled all the information needed for a campaign, you’re ready to submit your campaign for our admin to check. To submit your campaign, click Preview Campaign and check all the information once again.
Once you think everything is looking good, click Submit to Admin to submit your campaign to us.
Our team will check your campaign and get in touch with you if there are anything that should be adjusted. We’ll let you know when your campaign has been approved for payment and publishing.
# Saving Your Campaign as Draft
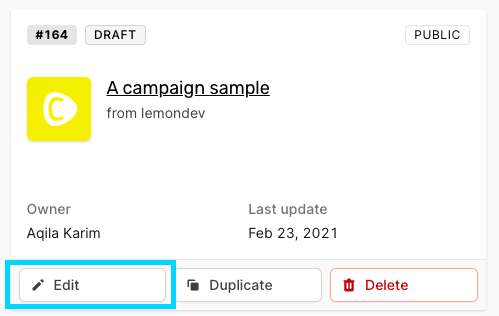
If you’re not ready to submit the campaign yet, you can save them as draft and edit them again later anytime.
To continue editing and submitting your campaign draft, simply go to Campaigns and click Edit on a campaign you want.